Configuration de la machine
Installez les outils dont vous avez besoin avant de commencer le développement Jekyll. Ce guide couvre macOS, Windows et Linux.
flowchart LR
    A([Start]) --> B[Install Docker Desktop]
    B --> C[Install Git]
    C --> D[Configure Git]
    D --> E[Install GitHub CLI]
    E --> F[Authenticate gh]
    F --> G([Ready for Jekyll Setup])
Prérequis en un coup d'œil
| Outil | macOS | Windows | Linux | Requis ? |
|---|---|---|---|---|
| Docker Desktop | brew install --cask docker |
winget install Docker.DockerDesktop |
get.docker.com | Oui |
| Git | brew install git |
winget install Git.Git |
apt install git |
Oui |
| GitHub CLI | brew install gh |
winget install GitHub.cli |
pkg install | Oui |
| VS Code | brew install --cask visual-studio-code |
winget install Microsoft.VisualStudioCode |
snap install code --classic |
Recommandé |
Étape 1 — Installer Docker Desktop
Docker exécute votre site Jekyll dans un conteneur isolé afin que vous n'ayez jamais à gérer les conflits de versions de Ruby.
macOS (Homebrew)
Windows (Winget)
Linux
curl -fsSL https://get.docker.com | sh
sudo usermod -aG docker $USER
newgrp docker          # apply group without logging out
Vérifiez :
Étape 2 — Installer Git
macOS
Windows
Linux
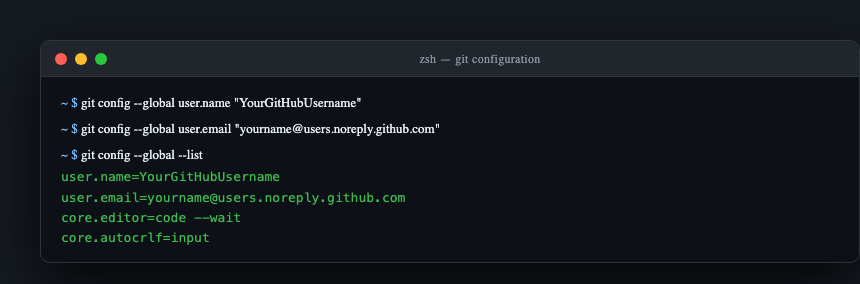
Étape 3 — Configurer Git
Remplacez les valeurs ci-dessous par votre véritable nom d'utilisateur GitHub et l'adresse e-mail no-reply issue de github.com/settings/emails :
git config --global user.name "YourGitHubUsername"
git config --global user.email "ID+username@users.noreply.github.com"
git config --global core.editor "code --wait"
Vérifiez :
Étape 4 — Installer GitHub CLI
macOS
Windows
Linux
sudo apt install gh        # Debian/Ubuntu (after adding the gh apt repo)
# Full instructions: https://cli.github.com/manual/installation
Authentifiez-vous :
gh auth login
# Choose: GitHub.com → HTTPS → Login with a web browser
# Copy the one-time code shown, press Enter, paste in the browser
Étape 5 — Installer VS Code (recommandé)
macOS
Windows
Linux
Extensions utiles pour le travail avec Jekyll :
code --install-extension redhat.vscode-yaml
code --install-extension yzhang.markdown-all-in-one
code --install-extension sissel.shopify-liquid
code --install-extension ms-vscode-remote.remote-containers
code --install-extension ms-azuretools.vscode-docker
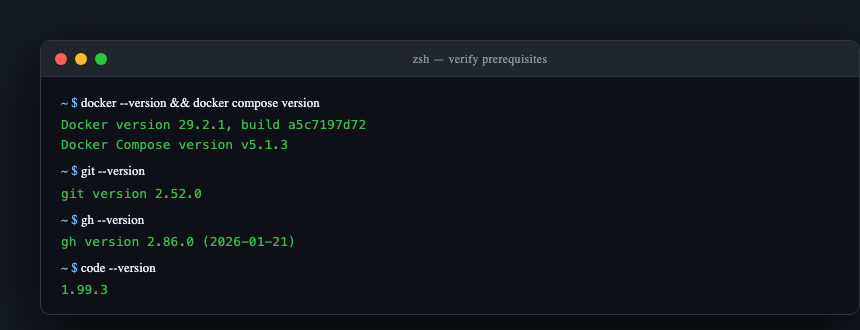
Tout vérifier
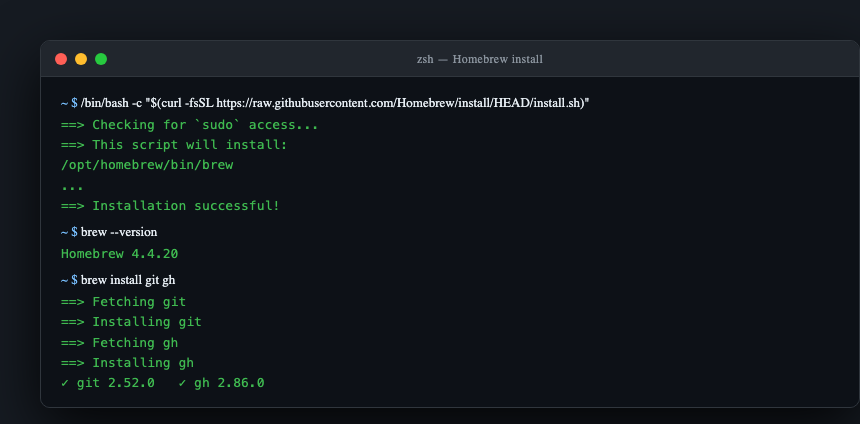
macOS : installer tous les outils avec Homebrew
Si vous êtes sous macOS et que vous n'avez pas encore Homebrew, installez-le d'abord :
Puis installez tout d'un seul coup :
Dépannage
Docker : permission refusée (Linux)
Docker Desktop ne démarre pas (Windows)
Assurez-vous que Hyper-V ou WSL 2 est activé. Exécutez wsl --install dans un PowerShell avec privilèges élevés, puis redémarrez.
Le port 4000 est déjà utilisé